I thought it would be fun to go over a few images I created and describe how they were achieved on a technical level. I have done this on an older blog post so I thought I should resurrect the idea. Fellow photographers will probably understand many of the terms I use in these descriptions but for those of you who aren’t photographers, I hope you can appreciate the effort and thought process that went into each of these images.
Leave a comment with your thoughts or any questions!
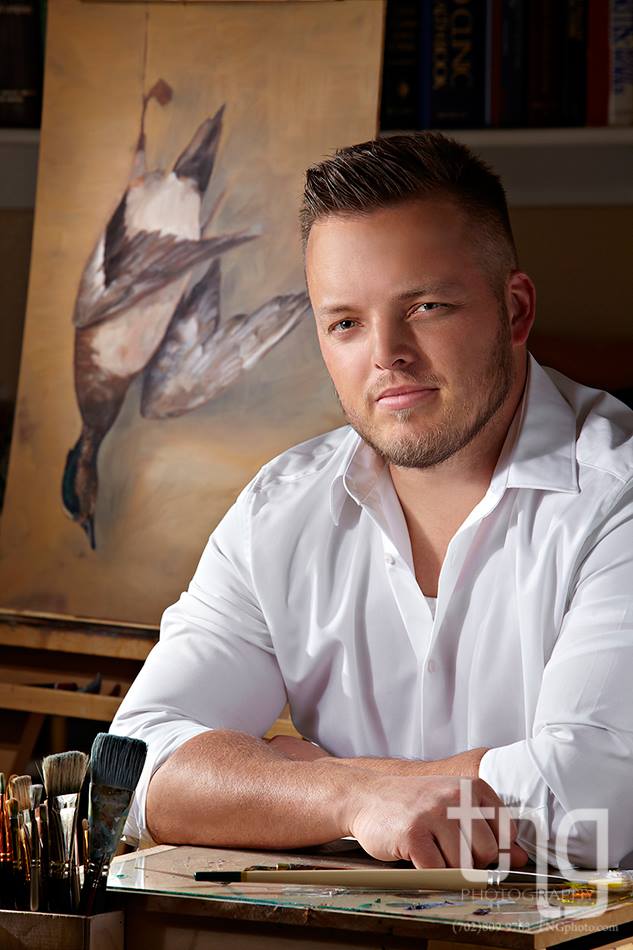
This is a friend of mine who is a talented artist and photographer. I asked him if I could create a portrait of him in his workspace for my own personal work of local artists and photographers. The room was not very large so I decided I would use a long lens to compress the background and showcase only a few key elements. This man is a hunter/outdoorsman so I chose a painting to place on an easel stand that had a similar tone to his skintone so it would not clash with the subject’s face. He was lit with a gridded beauty dish, reflector and a bare bulb speelite to add a highlight to his arm and nose. Another speedlite was manually zoomed into 135mm and aimed at the painting behind him.
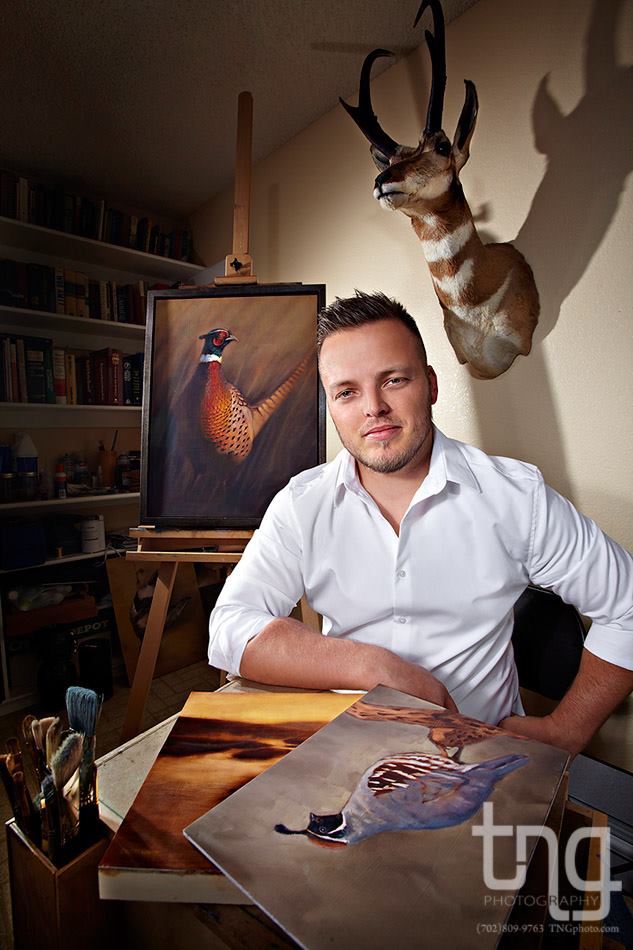
I decided to switch to a wide angle lens to showcase more of a story. I exchanged the painting in the background for another that still would not clash with the artist’s skin tone and I liked how the bird’s face is turned and looking at our subject. I then liked the idea of having a bird painting in the foreground as well. The wall behind him was normally bare and dull and for a wide angle portrait, I felt it necessary to occupy the space somehow. So, we took one of his hunting trophies and mounted it on the wall behind him. The lighting was the same set up for this image plus another light on a stand, raised up to ceiling height and controlled with barn doors (to make sure not to effect the lighting on the subject), aimed at the antelope to bring out more detail.
My goal for these portraits was to showcase my friend’s passions–hunting, the outdoors and his art. I am pleased with the results.
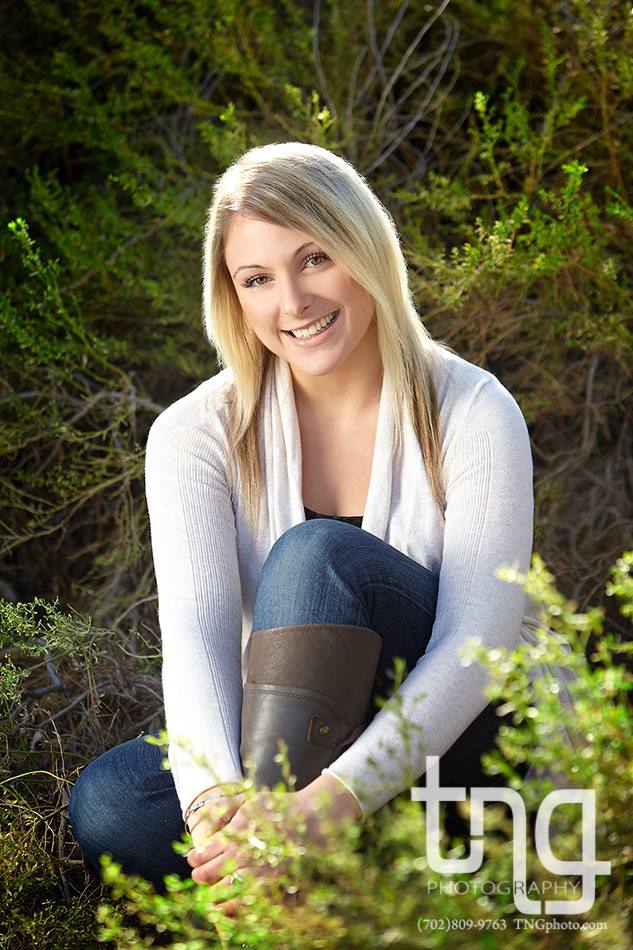
I consider myself quite the lighting aficionado. I am quite versed in it and extremely confident while working with it. I see a lot of other photographers being self described as ” natural light photographers ” and I cringe oftentimes when I see the work they produce. While yes, they work with natural lighting only, they lack the knowledge it takes to manipulate it for the highest quality possible. There are principles of lighting that need to be considered to flatter the subject but they throw this out the window. I don’t consider myself strictly a natural light photographer. I use the tools needed to get the job done right and if it’s natural light, great! If it’s a strobe or 2 or 3 or 4 or 5… off camera then great! Anyway, this portrait was all natural light. No electronic flashes used at all. The sun was behind her, creating a beautiful rim light around her hair and shoulders and I used my 6 ft. tall reflector to bounce and feather the light back into her face to make sure she had proper modeling to the face along with light in the eyes. I used a bush in the foreground for added feeling of depth in the portrait.
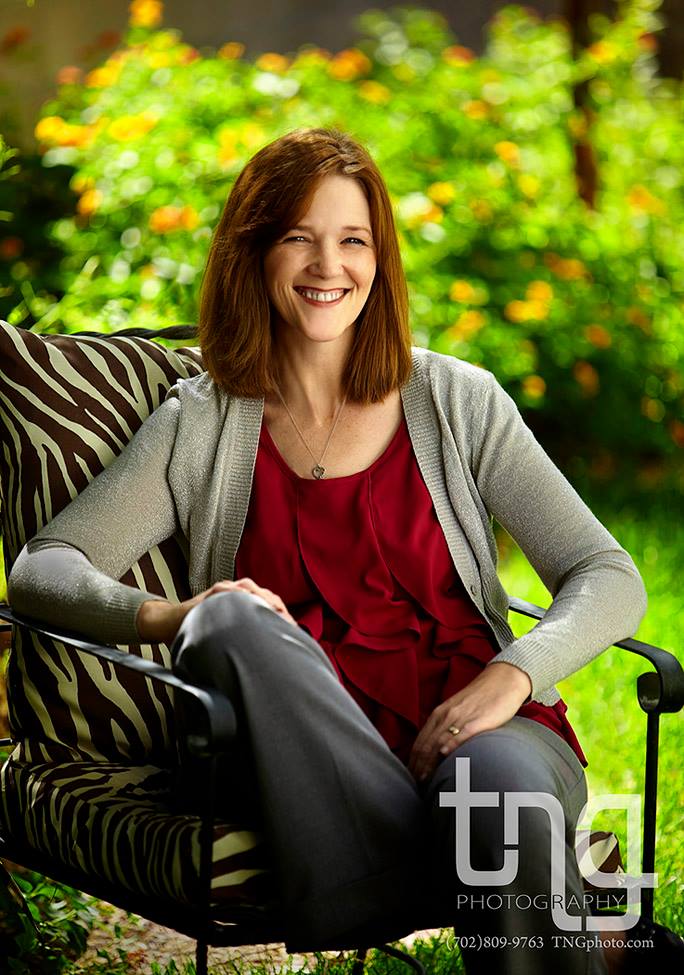
I was updating this realtor’s headshots at her home and decided an outdoors setting would be fun. This, like the previous image, was created with natural light only. The side of her home was lit by the sun which added a beautiful light to her face but I added my 6 ft. reflector give it a little extra pop.
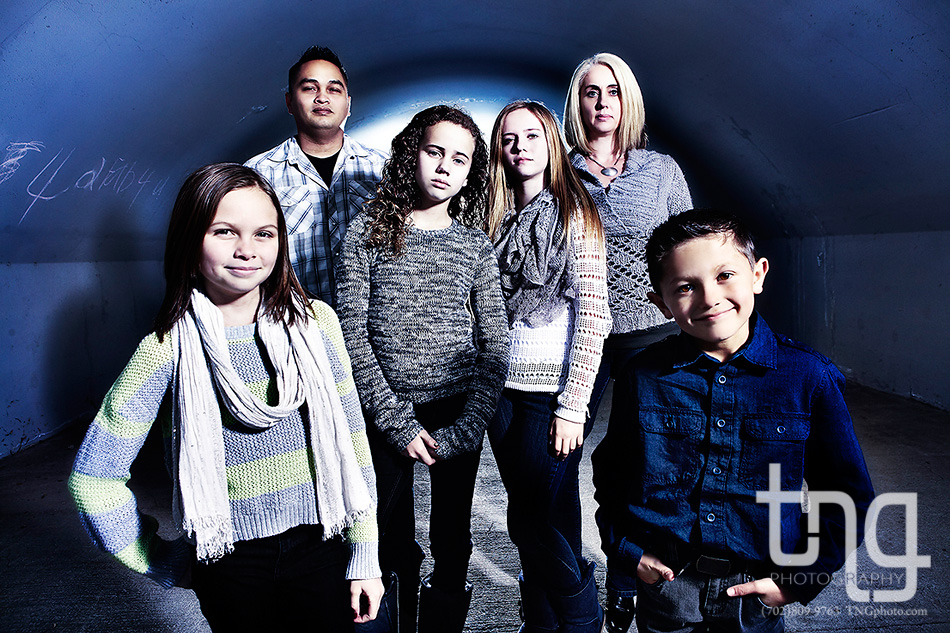
This family wanted something edgy and different for their home to match their style and decor. While I did create a few “safer” family photos to get a nice variety, this ended up being their favorite. The low angle is definitely not traditional. The color tone is cool/blue which is a fun departure from my usual warm, vibrant and inviting colors that a lot of my work includes. The wide angle lens made the two kids in the front look gigantic in comparison to the group which is something I usually make a HUGE priority not to do in my most of my more classical family portraits.
The lighting was 3 lights—one key light to camera right to light the group and two lights behind the group (one aimed at the family to add highlights to them and the ground behind them and another aimed somewhat angled at the ceiling to create an interesting bright light behind them. Smiling with teeth would not have fit the mood for this portrait so I asked them to be a little more intense. 🙂 So much fun!
I hope that was helpful! Thanks for reading!
Nate
– Your favorite Las Vegas senior photographer 🙂
