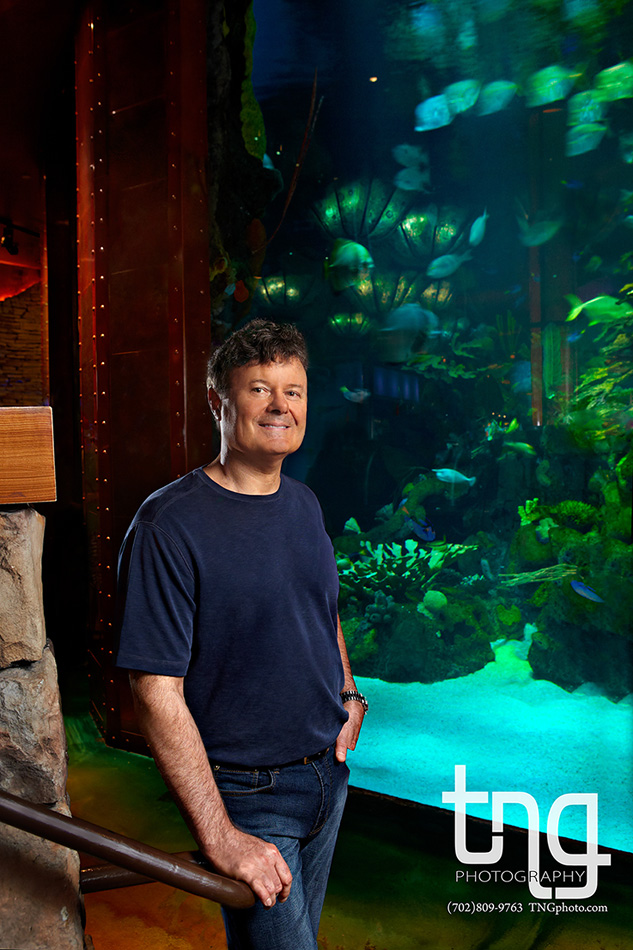
Being that my mind is drawing a blank today and can’t think of anything else to write about, here’s a “how it was done” segment! Enjoy.
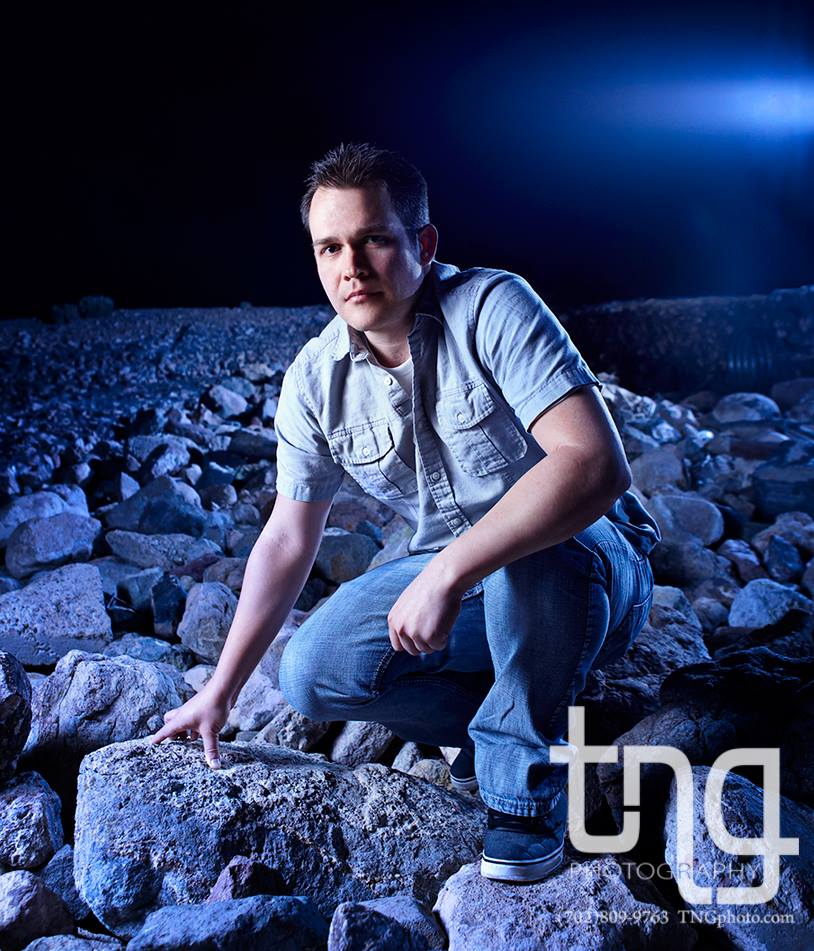
This portrait was created just after the sun was down. It was a simple two light set up. One to camera left to illuminate his face and another about 135 degrees to the subject aiming a little behind his left ear. Why did I do this? The main reason was to illuminate the rocks behind him and add texture there otherwise it would be completely black behind him. Another reason is that it added a little skim of light on the outside of his body and on his jaw for background separation. Now for the fun little tidbit that most photographers wouldn’t think of! While the light behind him looks very cool colored and blue, no color filter/gel was used on that light at all. How did I do it? Scroll do the next photo for more of a breakdown:
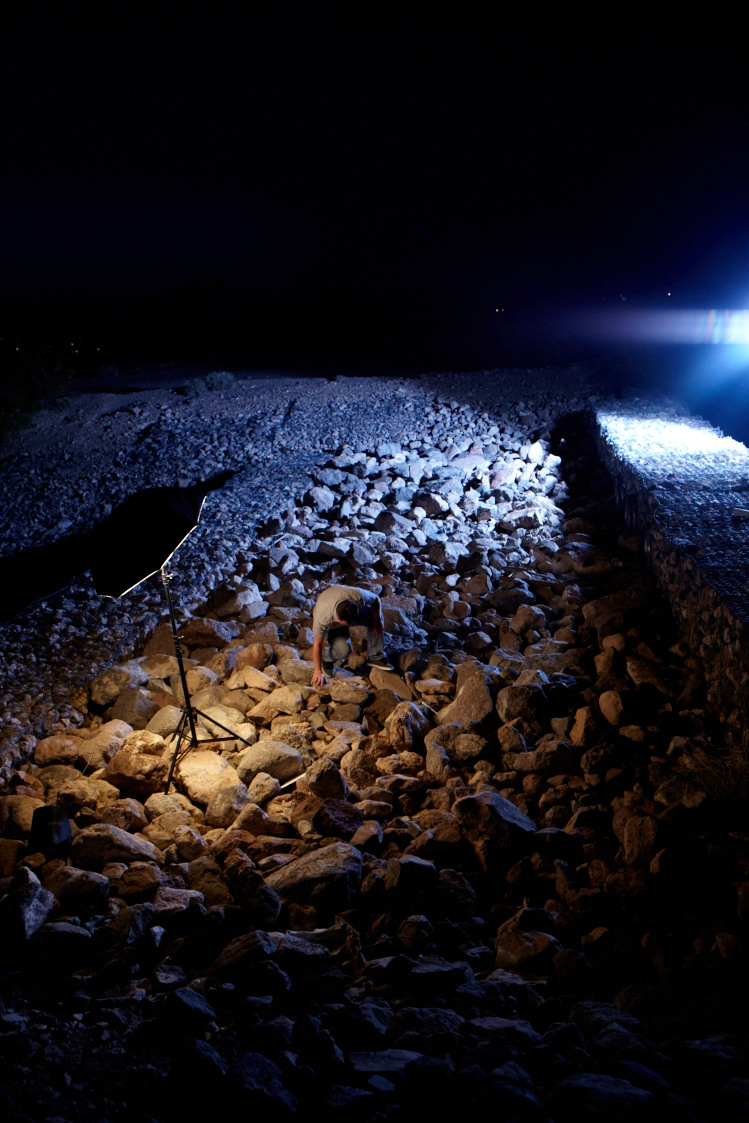
You can now see my two lights used. The main light actually had an amber gel filtering the light to give it a very warm color. By adjusting my camera’s white balance to 2500K (more tungsten) instead of the daylight balance of the background light (5500K), it neutralized the color on the subject (keeping him look more normal) but made the background/kicker light more blue.
Can your neighbor with a nice camera do that? 🙂
Thanks for reading!
-Nate
